by SamberLegends
[2.3] Fizz Guide - FIZZ JUNGLE MONSTER FROF PATCH 2.2
I like this
1699
0
1


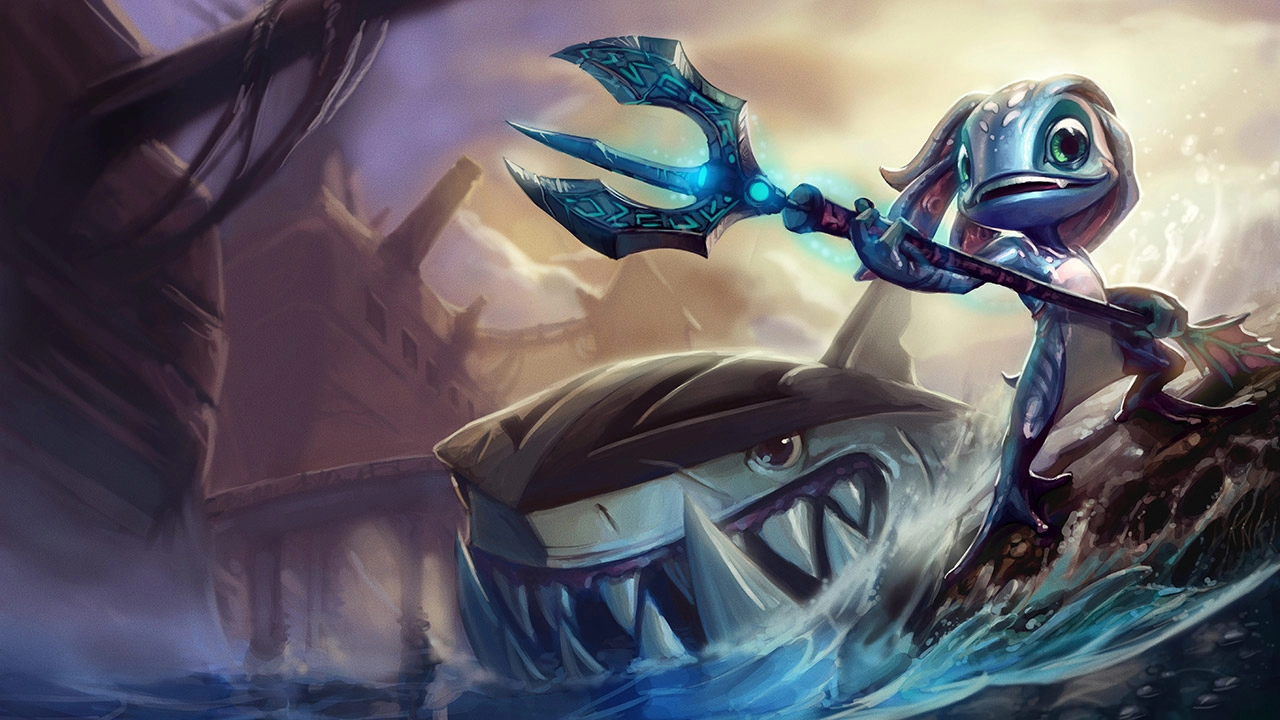
FIZZ JUNGLE MONSTER FROF PATCH 2.2
Jungle Best Fizz build guide for Season 2 Patch 2.2c In Wild Rift. With our Fizz guide you will learn which items to build, runes to select, skill order, and how to use Fizz abilities properly. Tips and tricks for how to play Fizz and counter your enemies.
Pros
- Fizz has extremely high burst damage. he can kill most champions with just one combo.
- He is a deadly assassin but can still have the team fight potential of a traditional mage.
- High mobility. Fizz can be annoying to deal with when the summoner is proficient with his E, Playful/Trickster.
- Strong snowball potential. If you have a strong early game, you will be able to bully everybody on the enemy team.
Cons
- Slow clean jungle before first item
- Missing his ultimate is a huge dip in his damage output in team fights.
- Low HP and armor
Fizz Build
Best Build Guide for Fizz
Starting Items

First back


First item
Second item

Middle game


Full build


Item Build Description
Additional information on the items
Fizz Runes
Best Runes for Fizz
Keystone
Electrocute
Domination

Gathering Storm
Resolve

Conditioning
Inspiration

Hunter Genius
Typical runes for jungle fizz ...............................
...........................................................................
Skill Order
How to distribute skill points

Seastone Trident

Urchin Strike

Rending Wave

Playful / Trickster

Chum The Waters
Summoner Spells
When to take which summoners


Smite
Flash
Combos
Learn how to maximize the champions potential

AA

2nd

3rd
AA

Passive
For jungle minions

1st
AA
2nd
3rd
AA
For Hank’s before level 5

Ult
Passive
AA
2nd
3rd
AA
Level 5 ganks
Fizz Matchups & Counters
Detailed information on how to play matchups and counters

Easy
Annie
Nice gank with her stun
Skills discription

[Passive] -SEASTONE TRIDENT
Fizz's attacks deal additional damage over time.

[1] - URCHIN STRIKE
Fizz dashes through his target, dealing magic damage and applying on hit effects.
[2] - RENDING WAVE
Empowers Fizz' next attack to deal bonus damage, and killing a unit resets Rending Wave's cooldown. Additional attacks deal more damage.
3
PLAYFUL / TRICKSTER
Fizz hops into the air, landing gracefully upon his spear and becoming untargetable. From this position, Fizz can either slam the ground or choose to jump again before smashing back down.
4
CHUM THE WATERS
Fizz tosses a fish in a direction that attaches to any champion that touches it, slowing the target. After a short delay, a shark erupts from the ground, knocking up the target and knocking any nearby enemies aside. All enemies hit are dealt magic damage and slowed.
Comments
Look at the nice things other people said!
You must be logged in to comment
No Comments yet

