[2.3] Gragas Guide - Iron to Diamond Gragas Build

Iron to Diamond Gragas Build
Pros
- Does damage
- Tanky
- Survivability
- Good in Top/Mid/Jungle
Cons
- Bad if enemy is snowballing
- Mid game build
- No burst damage
- not good into true damage
Gragas Build
Best Build Guide for Gragas


Item Build Description
Additional information on the items
Please remember to build the boots appropriate to play against the enemy team. Also please note that the core items of this build can be swapped for example if against and heavy AD comp you could build bramble into Thornmail instead of Liandry's Torment for example. Please play around with the builds but always build ROA first and adjust to the enemy team.
Gragas Runes
Best Runes for Gragas


Rune set 1 is for ranged. Sweet Tooth is way to strong right now to help snowball.
Rune set 2 is against Melee mid lane. Sweet Tooth is way to strong right now to help snowball.
Skill Order
How to distribute skill points


Summoner Spells
When to take which summoners


Combos
Learn how to maximize the champions potential


I always max Body Slam as I like the engage but if you want to focus on farm take Barrel Roll. The Combo is an engage example, if quick enough you can Body Slam into a quick Barrel Roll into Flash combo which is devastating when receiving a gank or ganking.
Lets have a drink
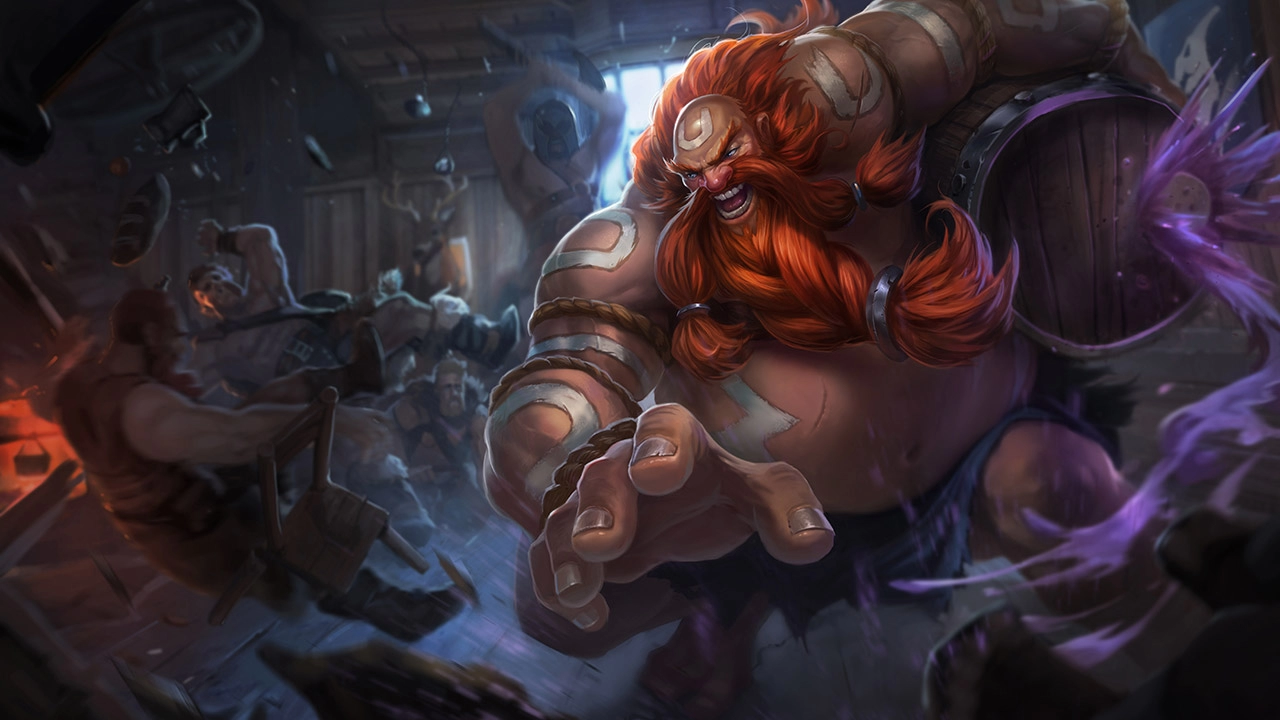
Gragas is an all around Wild Rift beast that can play almost every role (not ADC). As a mid main I will always take Gragas if we lack tanky champions to fill the gap as he pretty much brings everything to a team with the builds shown.
 2
2

