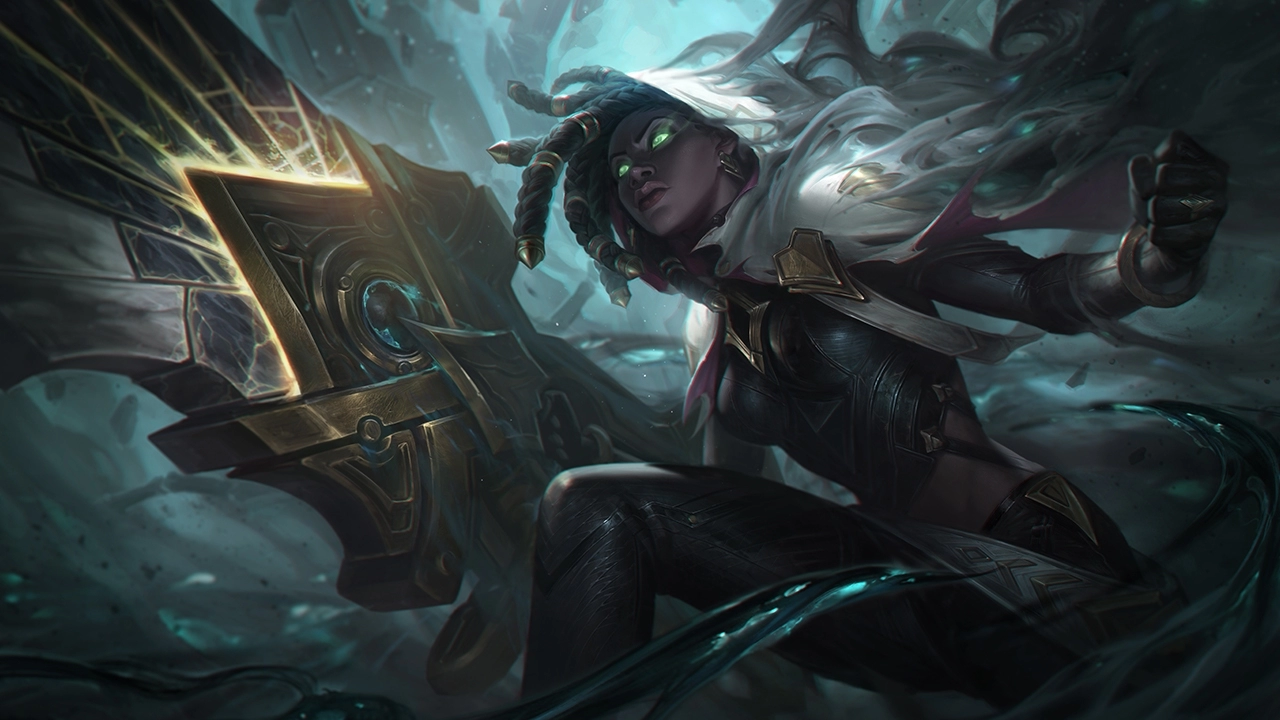
[5.0] Senna Guide - So You Want to Main Senna... (Support)


So You Want to Main Senna... (Support)
Pros
- ✅ Infinite Scaling: Collect souls, get stronger—forever!
- ✅ Insane Range: Outpoke almost any lane opponent.
- ✅ Team-Saving Utility: Heals, shields, and map-wide ultimates make you the MVP.
- ✅ Kill Secu—Er, Assist Mastery: You’re a support, not a carry...right?
Cons
- ❌ Squishy: Like, "blink and you’re dead" squishy.
- ❌ Reliant on Souls: No souls = no scaling. Better get clicking.
- ❌ Skillshot Dependent: If you miss 2nd or Ultimate, it’s awkward for everyone
- ❌ ADC Patience Required: Your “support” damage might ruffle some feathers.
Senna Build
Best Build Guide for Senna


Item Build Description
Additional information on the items
Senna Build Breakdown
Starting Item: I usually starts with [Ancient Coin] as the first item instead of
 Relic Shield
, since it gives you both HP and Ability Haster instead of just HP. But that item does not seems to be around here. I only put
Relic Shield
as a decoy/dummy.
Relic Shield
, since it gives you both HP and Ability Haster instead of just HP. But that item does not seems to be around here. I only put
Relic Shield
as a decoy/dummy.
Core Item:
 Boots of Swiftness
doesn't exist in the game anymore so do go for [Berserker's Greaves] instead for more Attack Speed and AD (Attack Damage). Next, you want to build [Tear of Goddess] to stack it up to 700 stacks before you buy
Boots of Swiftness
doesn't exist in the game anymore so do go for [Berserker's Greaves] instead for more Attack Speed and AD (Attack Damage). Next, you want to build [Tear of Goddess] to stack it up to 700 stacks before you buy
 Manamune
. Then, buy [Locket Enchant] and
Manamune
. Then, buy [Locket Enchant] and
 Iceborn Gauntlet
for more mana, tankiness, and slow effects. Only then you finish your
Manamune
because your stacks would be enough for it to evolve to
Iceborn Gauntlet
for more mana, tankiness, and slow effects. Only then you finish your
Manamune
because your stacks would be enough for it to evolve to
 Muramana
.
Muramana
.
Situational Item: Buy
 Executioner's Calling
early if the enemy have healing champions like [Morgana],
Executioner's Calling
early if the enemy have healing champions like [Morgana],
 Dr. Mundo
, and
Dr. Mundo
, and
 Vladimir
after you bought [Tear of Goddess]. Complete it to
Vladimir
after you bought [Tear of Goddess]. Complete it to
 Mortal Reminder
after you bought all your Core Item. If the enemy have high shields like
Mortal Reminder
after you bought all your Core Item. If the enemy have high shields like
 Seraphine
,
Seraphine
,
 Karma
, or even [Morgana]'s shield!
Karma
, or even [Morgana]'s shield!
Senna Runes
Best Runes for Senna


Skill Order
How to distribute skill points


Summoner Spells
When to take which summoners


Combos
Learn how to maximize the champions potential


Basic Combo #1: Poking
1st [Piercing Darkness] → [Auto Attack]
- Fire a healing laser for your ADC and a mini heart attack for the enemy, then follow up with your giant cannon for max disrespect.
Basic Combo #2: The Soul Collector’s Special
[Auto Attack] → 1st [Piercing Darkness]
- Snipe the enemy for a soul, then casually heal your ADC like, “Yeah, I meant to do that.” Bonus points if you manage to last-hit something you weren’t supposed to.

Intermediate Combo #1: The Root n' Scoot
2nd [Last Embrace] → [Auto Attack] → 1st [Piercing Darkness]
- Land your root, then shoot. Follow up with a laser to remind them that stepping near your ADC was a mistake. Extra style points for catching multiple enemies in the root!
- If you want to take it into another level, use [Flash] after casting 2nd [Last Embrace] to catch the enemy off guard.
Intermediate Combo #2: The Drive-by Healer / You're Just Dead Combo
1st [Piercing Darkness] → 2nd [Last Embrace] → [Auto Attack]
- Fire a quick heal to your ally, root the enemy, then walk away casually like you didn’t just make their life miserable. Bonus: This combo works great when you’re definitely not fleeing from a fight.
- If you want to take it into another level, use [Auto Attack] between abilities to maximize your damage output.

Advance Combo #1: The Map-wide Hero Moment
Ultimate [Dawning Shadow] → 1st [Piercing Darkness] → 2nd [Last Embrace]
- Drop your global ult like a boss to shield your allies and slap your enemies across the map. Then follow up with some flashy heals and roots like the supportive sniper queen/king you are.
- Use [Flash] after casting your Ultimate [Dawning Shadow] and apply [Auto Attack] between abilities to maximize your damage output.
Advance Combo #2: Teamfight Chaos Creator
[Auto Attack] → 2nd [Last Embrace] → 1st [Piercing Darkness] → Ultimate [Dawning Shadow]
- Start by auto-attacking to build some souls, root an enemy for the setup, heal your team, and then fire off your ult to save lives and ruin days—all while looking like you totally planned it.
Senna Matchups & Counters
Detailed information on how to play matchups and counters


JUST. DO. IT!!!
Just do it guys. Trust me, you'd win.

