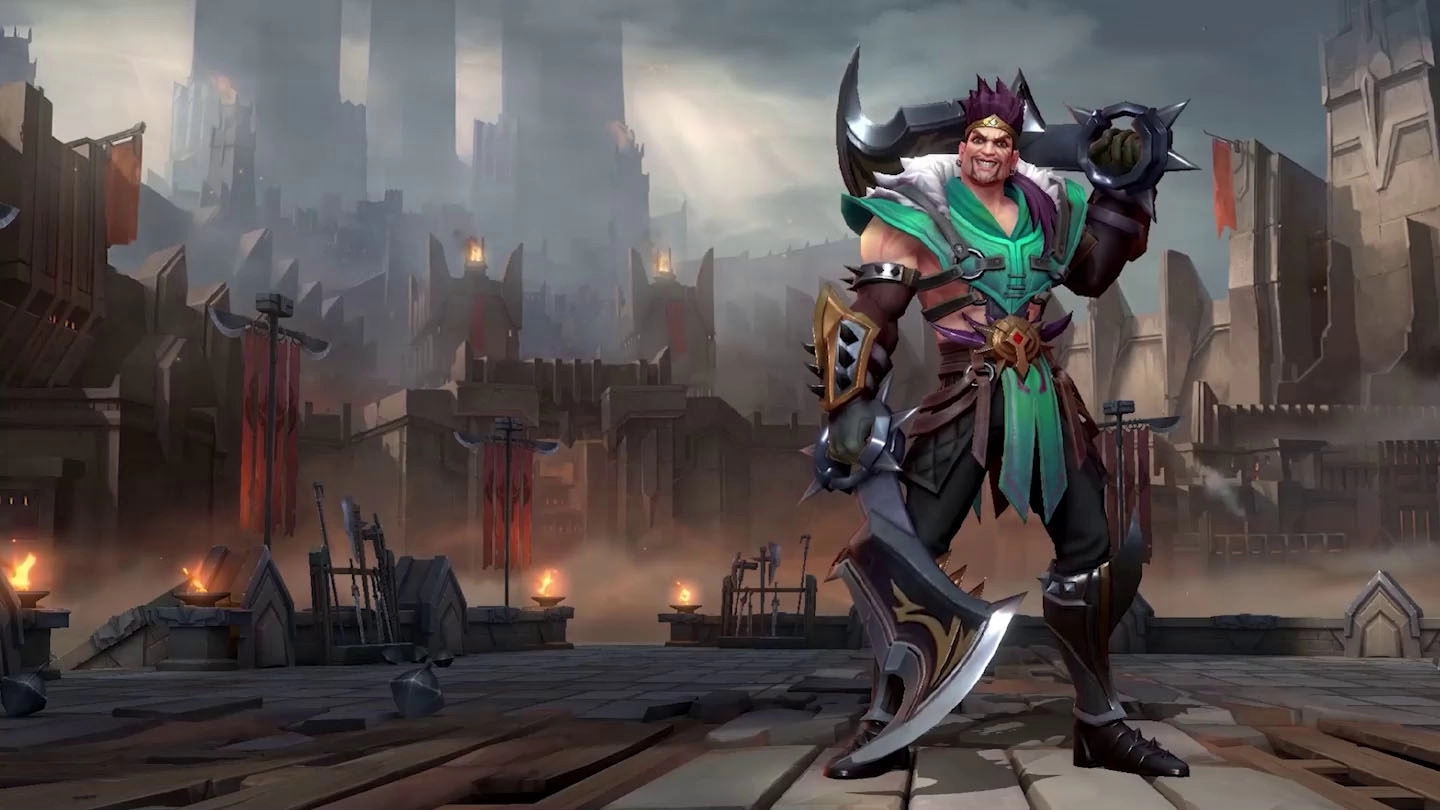
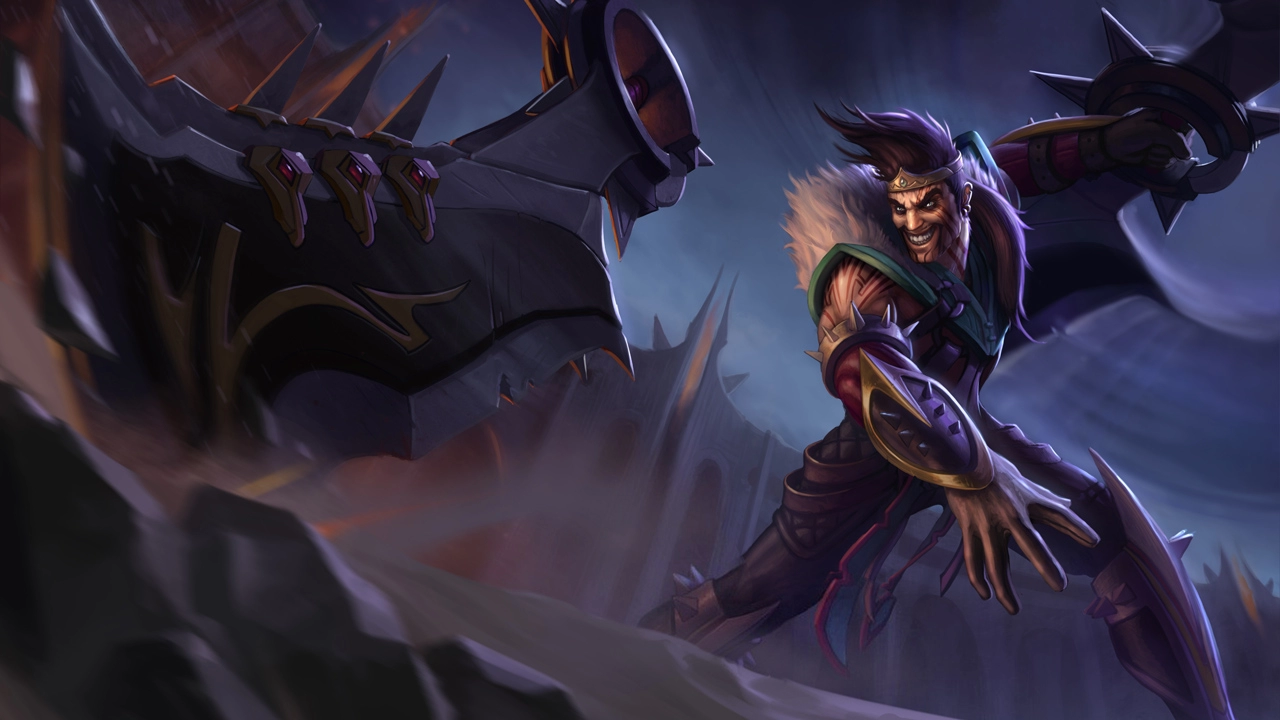
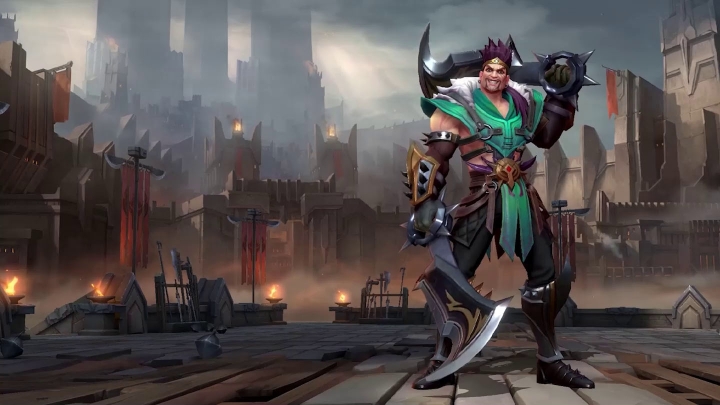
Draven
the Glorious Executioner
MARKSMAN
Draven is a Marksman champion in League of Legends: Wild Rift.
Find the latest Draven build, strategies, tips and tricks for Wild Rift in 2026 and climb up in the ranks.
Our guides are comprehensive and contain builds, runes, summoner spells, combos and much more. With our guides you will easily learn how to master Draven.
Draven Build
B1 (Standard)


B2 (Ahead)

B3 (Muramana Meta)


Draven Skill Order

League Of Draven

Spinning Axe

Blood Rush

Stand Aside

Whirling Death
Draven Runes & Summoners
Keystone
Conqueror
Domination

Triumph
Resolve

Hunter Titan
Inspiration

Mastermind

Heal

Flash
Find the best advice on Draven for League of Legends: Wild Rift
Wild Rift: Draven Builds & Guides


2.1a
LEAGUE OF DRAAAVEN - ALL IN ONE DRAVEN GUIDE

5.0
Xylia's Draven Guide For Patch 5.2

2.2
Classic Draven Build #1 (BT IE RFC)
4.1b
BEST DRAVEN BUILD (1V9 OTP MARKSMAN BOTTOM)


Are you a virtuoso on Draven? Consider writing your own Draven Guide.
Find guides for all Champions!
All Champions

Ahri

Akali

Alistar

Amumu

Annie

Ashe

Aurelion Sol

Blitzcrank

Braum

Camille

Dr. Mundo

Evelynn

Ezreal

Fiora

Fizz

Garen

Gragas

Graves

Janna

Jarvan Iv

Jax

Jhin

Jinx

Kai'sa

Lee Sin

Lux

Malphite

Master Yi

Miss Fortune

Nami

Nasus

Olaf

Orianna

Seraphine

Shyvana

Singed

Sona

Soraka

Tryndamere

Twisted Fate

Varus

Vayne

Vi

Xin Zhao

Yasuo

Zed

Ziggs

Darius

Draven

Wukong

Kennen

Lulu

Tristana

Teemo

Corki

Xayah

Rakan

Katarina

Leona

Pantheon

Diana

Galio

Rammus

Kha'Zix

Rengar

Renekton

Irelia

Riven

Lucian

Senna

Akshan

Thresh

Nunu & Willump

Brand

Caitlyn

Jayce

Veigar

Kayle

Morgana

Sett

Samira

Ekko

Gwen

Karma

Kassadin

Nautilus

Pyke

Shen

Sion

Vex

Warwick

Yone

Yuumi

Lillia

Zoe

Twitch

Zeri

Urgot

Swain

Ornn

Volibear

Nilah

Vladimir

Hecarim

Sivir

Zyra

Syndra

Fiddlesticks